
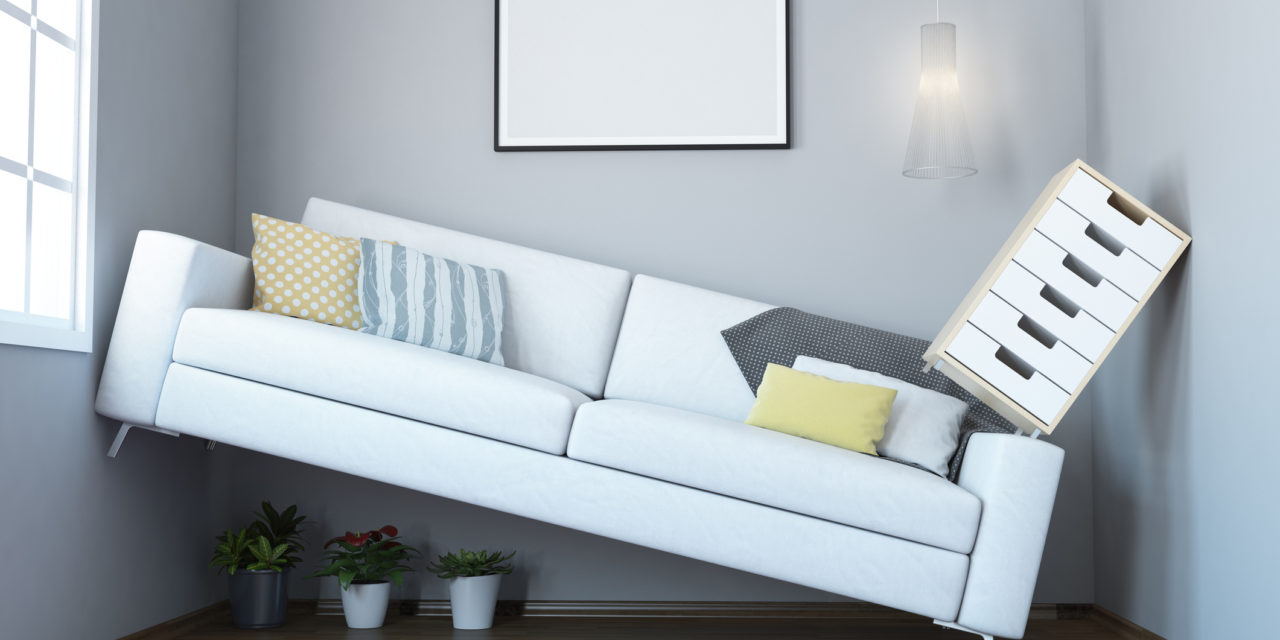
 Moving furniture can be a key culprit in marking up walls. Photo Credit: Eoneren (iStock).
 When my decorating clients move into newly redone homes, they worry most about damage to their pristine painted walls.
Movers, installers and other workers do their best to protect all surfaces, but a ding, smudge or scratch invariably is made somewhere.
Typically, my clients tackle the mark the way they would a scorched frying pan. They rub the spot so hard that they end up with a shiny patch that won’t go away. They’ve done what painters call burnishing. They’ve increased the paint’s gloss or sheen by rubbing the spot too much.
Burnishing is particularly easy to do on walls painted in a flat finish. So though I love the chalkiness of flat paint, I suggest using it only in less-trafficked areas such as living rooms and bedrooms.
When cleaning painted walls, the paint finish matters; the color doesn’t. Flat paint is hardest to clean but easiest to touch up. It’s also the best finish for walls that are not in great shape. Imperfections are less apparent than on glossy walls.
Walls done in a high-gloss, semigloss or satin finish are by far the easiest to clean, but they’re hard to touch up. These finishes highlight imperfections. When touched up, the difference in the new and old paint sheens is often apparent. More often these finishes are used for moldings, baseboards, window and door trim, kitchen and bath walls, or any area that gets bumped, scuffed, or is prone to dirt and grease.
Eggshell is the most popular and versatile paint finish. It has the slightest bit of sheen to make it easy to wash and touch up.
No matter the finish of your walls, the trick to cleaning them is to act quickly and gently. The sooner you take care of a scuff or splotch, the better. First vacuum the area using the brush attachment to remove any loose dust or dirt. Dampen a clean rag or nonabrasive sponge (such as a Mr. Clean Magic Eraser), squeezing out any extra water, then dab or rub the stain very gently. If that doesn’t work, dip the cloth into water mixed with a few drops of a mild dishwashing liquid. If the stain persists, try blotting a bit of the soap right onto the wall and gently rub. Once the stain is gone, gently wipe the spot with plain water to remove any soapy residue.
If spot-cleaning fails, you might be tempted to try a harsher cleaner. Test it first in a hidden spot, such as behind a piece of art on a wall. If that fails too, then you need to touch up the spot with paint. For best results, use the paint from the original paint can and use the original mode of application. If the paint was rolled on, use a roller. If it was brushed on, use a brush.
The process to repair chips, scratches or holes left by picture hooks is more involved. You will need paint, spackling paste, a small putty knife, a towel or sponge, sandpaper and a paint brush. If you don’t have leftover paint, take a small chip of paint from the damaged wall and have it color-matched at your paint or hardware store. Make sure to get the same paint finish as your wall. Mix a small amount of spackling paste until it is smooth, and using a small, flexible putty knife, apply the paste to fill the scratch or hole. Depending on the depth of the damage, this might require a couple of applications. The paste probably will get on the wall around the damaged spot, but you can easily wipe it off with a damp towel or sponge.
Allow the paste to fully dry. (Follow the drying instructions on the container.) Then lightly sand the spot with 120-grit sandpaper to even out the wall’s surface. Vacuum any dust, then lightly dab paint on the repair, in the smallest area possible. The bigger the area you repaint, the more likely the difference in old and new paint will show.


Comment on: How to Clean Marks Off of Painted Walls